Welcome to the Red Wattle Hog Association Website!
The objectives of the RWHA are:
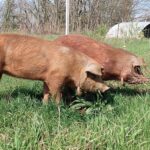
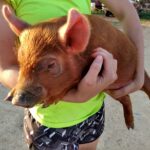
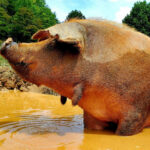
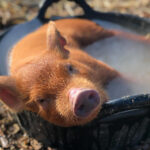
To conserve and propagate the Red Wattle Hog
To assist breeders of Red Wattle Hogs to secure breeding stock
To help new breeders to obtain information
To provide documentation of pedigreed animals
To educate our membership and the public about the advantages of raising Red Wattle hogs:
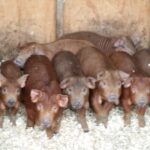
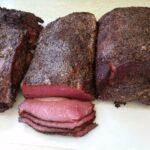
e.g.: temperament, mothering ability, large litters, foraging ability, marbling, tenderness of meat
We hope you are enjoying our updated website. Be sure to explore all the pages using the top navigation menu. You can find a link to our Facebook group page at left of the page footer (the Facebook button.)